
Why Does the Same Flexo Press Produce Weak Solids, Dirty Text, or Unstable Color?
Many non-woven printers treat the anilox roll as a generic accessory. They choose a high line count for quality or a high volume for density, then compensate with extra impression pressure when the result is poor. On textured PP spunbond non-woven fabric, that shortcut can cause pinholes, dirty print, dot gain, foaming, slow drying, and rapid plate wear. The loss is larger when a distributor promises a brand color that cannot be repeated between orders. LPI alone does not define ink delivery, and BCM alone does not define image resolution. The correct anilox must be matched to artwork, plate screen, ink chemistry, substrate surface, and press speed. A Manufacturer or Supplier should prove that combination with a documented banded or production trial before the buyer approves an OEM printing line.
For non-woven bag printing, select anilox line count and cell volume together: use adequate BCM for substrate coverage, sufficient LPI to support the smallest plate feature, and the lowest stable impression pressure. Zhengxin validates this combination with the actual PP fabric, water-based ink, artwork, and target speed.
This guide connects LPI, BCM, plate resolution, surface energy, ink control, doctor blades, and cleaning. Importers and printers can then specify a repeatable Customizable system, compare Supplier proposals on the same basis, and approve production evidence instead of buying a press by color count alone.
Understand What LPI and BCM Actually Control
LPI describes the number of engraved cells per linear inch. BCM per square inch describes cell volume and therefore the anilox capacity to carry ink. Higher LPI usually supports finer detail, while higher volume generally lays down a thicker wet ink film. Modern cell geometry can alter that relationship, so two rolls with the same LPI may transfer different volumes.
| Print requirement | Anilox direction | Main risk to verify |
|---|---|---|
| Large solid logo on coarse non-woven | More usable cell volume | Drying, pinholes, and ink consumption |
| Fine text or barcode | Finer screen with controlled volume | Dirty print and loss of small features |
| Halftone or vignette | Screen matched to plate dots | Dot dipping, gain, and tonal break |
| White or high-opacity color | Volume matched to pigment load | Plugging, foaming, and incomplete drying |
Use these as selection directions, not universal specifications. Request the engraved LPI, measured volume, cell geometry, roll serial number, and initial inspection report from the Supplier.
Match the Anilox Screen to the Plate and Smallest Image Feature
The smallest highlight dot must sit across enough anilox cells to remain stable. Industry guidance often starts with an anilox-to-plate screen ratio near 5:1, but plate technology, cell opening, dot shape, tape, and artwork can require a different value. A single roll rarely optimizes both heavy solids and fine process work.
- Separate solid-color stations from fine-detail stations when the artwork requires both.
- Send native artwork, minimum line width, smallest text, barcode grade, and plate screen to the Manufacturer.
- Avoid solving dirty print by increasing impression pressure; excessive pressure widens features and accelerates wear.
- Use a banded anilox or controlled press trial when the job is commercially important.
- Archive the approved roll, plate, tape, ink, viscosity, speed, and drying settings as one recipe.
For an ODM product range, build two or three validated print recipes rather than promising every artwork on one anilox specification.
Qualify PP Non-Woven Surface and Ink Before Changing Hardware
PP has low surface energy, and treatment can decay during storage. Poor wetting may look like insufficient anilox volume, especially when ink recedes from high points or forms pinholes. Check the incoming roll with an agreed dyne test method and record material age, treatment side, basis weight, texture, lamination, and storage conditions. The required surface energy must be confirmed with the selected ink Supplier rather than copied from a generic chart.
| Symptom | Possible substrate or ink cause | Verification |
|---|---|---|
| Pinholes in solids | Rough surface, poor wetting, low ink transfer | Dyne check, microscopy, banded volume trial |
| Ink rubs off after drying | Insufficient treatment or incompatible binder | Adhesion test after full cure |
| Color drifts during run | Viscosity, pH, temperature, or evaporation change | Timed ink log and retained sample |
| Foam and missing print | Air entrainment or return flow design | Inspect pump, return, level, and defoamer control |
Water-based ink should be controlled to the ink maker’s specified viscosity and pH window. Record the measurement method and temperature because an unqualified cup reading cannot support repeatability.
Set Doctor Blade, Impression, Registration, and Drying as One System
The anilox meters ink, but the doctor blade contact, chamber pressure, plate impression, substrate impression, web tension, registration, and dryer airflow determine what reaches the bag material. Excess blade pressure can wear the roll and create score lines. Excess impression produces halo and dirty print. Inadequate drying can transfer ink to guide rollers or the next color station.
- Set blade geometry and pressure to the Supplier baseline, then inspect for a clean, even wipe.
- Bring the plate into kiss impression instead of compressing it to force coverage.
- Stabilize web tension and registration before judging color.
- Balance speed, airflow, and ink film so each color dries before overprinting or rewinding.
- Measure color and defects at defined intervals during the run, not only on the first sample.
A Customizable two-color or four-color line should include the correct pumps, drying capacity, tension control, and plate cylinder range for the buyer’s real product mix.
Control Cell Volume Through Cleaning and Measurement
Dried ink reduces effective cell volume even when the engraved specification has not changed. Operators may compensate with pressure or a richer ink mixture, creating a second defect. Establish daily cleaning, periodic deep cleaning, visual inspection, and measured volume verification appropriate to the roll coating and ink chemistry.
- Never use metal tools or an unapproved chemical that can damage the ceramic surface.
- Protect the roll during removal and storage; a small impact can create a repeating line.
- Inspect doctor blades and filtration when score lines appear.
- Trend measured volume instead of waiting for color density to fail.
- Keep cleaning records linked to the roll serial number.
The Supplier should provide cleaning limits, approved media, handling instructions, and a replacement process. This documentation is as important as the initial LPI and BCM label.
Approve the Printing Package with a Production Trial
Use the intended fabric roll, ink set, artwork, plate, and target operating speed. Evaluate solid density, fine-line reproduction, registration, drying, adhesion, rub resistance, odor if relevant, and color consistency across the roll. Retain signed samples from the beginning, middle, and end. For OEM acceptance, record actual LPI, volume, viscosity, pH, temperature, tension, speed, and dryer settings.
Do not accept a trial printed on smoother or pretreated material unless that material is contractually approved. A successful trial must represent the production substrate and the full printing topology. Zhengxin can coordinate the press, anilox, drying, and web-handling configuration with the downstream bag-making equipment.
Send Zhengxin your PP non-woven specification, artwork, color count, ink system, print width, and target speed. We will recommend and validate a Customizable OEM or ODM printing configuration with measurable acceptance samples.
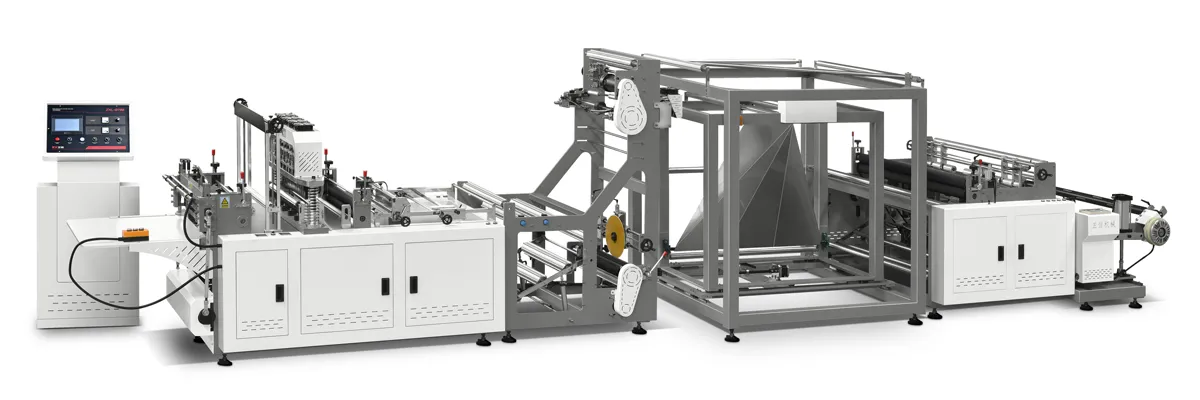
ZXL-A700背心袋无纺布制袋机.webp)
 Tiếng Việt
  English
  العربية
  Español
  Русский
  O‘zbekcha
  Қазақ тілі
  Português (AO90)
  (فارسی (افغانستان
  Kiswahili
  አማርኛ
አማርኛ  தமிழ்
தமிழ்  Bahasa Indonesia
  اردو
اردو  हिन्दी
  বাংলা
বাংলা