
Why Do PP Non-Woven Bag Seams Become Weak, Brittle, or Intermittent?
A high-speed line can produce thousands of bags before an operator notices that the side seam peels, the handle weld tears, or the fabric has been cut by excessive energy. The problem becomes expensive because one setting is often copied across different PP grades, basis weights, colors, laminations, and weld patterns. More amplitude is then added to cure a weak seam, which can overheat the fibers and make the edge brittle. Reducing speed may hide the symptom without controlling the process. A reliable solution begins with a documented welding window that connects material, tooling, pressure, energy, and line speed. It must also include a repeatable strength test. Without that evidence, a Manufacturer or Supplier cannot distinguish a stable process from a short demonstration that happens to produce acceptable samples.
The best ultrasonic setting is a validated process window, not one universal number. Zhengxin matches the ultrasonic system, horn and anvil pattern, web pressure, and line speed to the actual PP non-woven structure, then verifies the seam with conditioned samples and an agreed tensile method such as ISO 9073-3.
The following engineering method shows how to create that window, compare 20 kHz and 35 kHz platforms, isolate common defects, and write measurable OEM or ODM acceptance criteria. It also explains how material records, production trials, and seam tests turn an acceptable sample into a repeatable factory process.
Start with the Material, Not the Generator Display
Ultrasonic welding converts high-frequency mechanical vibration into localized heat at the interface of thermoplastic layers. The response depends on more than nominal GSM. Record polymer type, bonding method, basis weight, thickness, coating, pigment, recycled content, and machine direction for every approved fabric. A 60 g/m² spunbond roll and a 60 g/m² laminated roll may need different energy and pressure because their interfaces do not melt or transmit vibration in the same way.
- Use the production roll, not only a small hand-cut laboratory sample.
- Measure basis weight using the current method in ISO 9073-1 when supplier variation is suspected.
- Condition test pieces consistently before comparing seam strength.
- Separate body seams, bottom gussets, mouth folds, and handle joints because their layer counts differ.
- Approve every Customizable material family through a short design of experiments.
Choose Frequency and Power Architecture by the Weld Task
Frequency is a system characteristic involving the generator, converter, booster, and horn. It is not a value that operators should change freely. Lower-frequency systems generally support larger tooling and higher vibration amplitude, while higher-frequency systems favor finer, more localized work. The correct choice depends on weld width, layer count, production speed, acoustic design, and available installation space.
| Engineering factor | 20 kHz class | 35 kHz class |
|---|---|---|
| Typical process direction | Larger weld area or heavier stack | Smaller, more localized weld area |
| Relative amplitude capability | Generally higher | Generally lower and finer |
| Tooling sensitivity | Requires correctly tuned larger tooling | Requires precise alignment and smaller tooling |
| Selection risk | Overworking thin fabric | Insufficient energy on a wide or thick joint |
This table is a selection guide, not a machine setting. Ask the Supplier to state the installed frequency, rated power, duty cycle, alarm logic, and transducer cooling. A reputable Manufacturer should also identify which weld stations remain active for each bag style.
Build a Controlled Amplitude, Pressure, and Speed Window
Do not optimize one variable in isolation. Start from the Supplier baseline and test a small matrix around amplitude or power level, nip pressure, and web speed. Keep the horn, anvil, layer count, and fabric roll constant. Produce enough consecutive bags at each point to expose intermittent faults, then label every sample with the settings used.
| Trial | Energy level | Nip pressure | Line speed | What to inspect |
|---|---|---|---|---|
| A | Supplier baseline | Supplier baseline | Normal target | Continuity and appearance |
| B | Lower step | Baseline | Normal target | Peel initiation or skip welds |
| C | Higher step | Baseline | Normal target | Thinning, holes, or brittleness |
| D | Selected level | Lower and higher steps | Minimum and maximum agreed speeds | Window stability |
The final recipe should sit away from both failure edges. If a tiny change causes a reject, the window is not robust enough for normal roll variation. Store the approved recipe in the HMI by product code when the control system supports it.
Inspect Horn, Anvil, Alignment, and Thermal Drift
A parameter change cannot repair damaged tooling. Look for uneven wear, packed fibers, contamination, looseness, runout, and a contact pattern that is darker on one side. The horn-to-anvil parallelism, embossing geometry, bearing condition, and nip loading must distribute energy across the full seam. A worn pattern can create alternating strong and weak spots that average measurements may conceal.
- Use transfer film or another approved contact-check method to inspect the footprint.
- Clean the patterned wheel without rounding its working edges.
- Confirm fastener torque and acoustic stack tuning after component replacement.
- Record cold-start results and results after sustained production to reveal thermal drift.
- Stop if the generator reports overload, frequency tracking faults, or abnormal noise.
OEM and ODM projects may require a Customizable anvil pattern for appearance or load distribution. Validate that tooling with the intended artwork-free and printed fabric zones because ink or lamination can change the interface.
Define Seam Strength with a Repeatable Test
Visual inspection is necessary but insufficient. ISO 9073-3:2023 provides a strip method for breaking force and elongation of nonwovens using 25 mm or 50 mm specimens. ASTM D5035-11(2024) also includes a cut-strip procedure applicable to nonwoven fabrics. Neither standard automatically defines the finished bag acceptance limit, so the buyer and Supplier must agree on specimen orientation, width, conditioning, grip spacing, test speed, number of specimens, and pass rule.
- Test unseamed base material in machine and cross directions.
- Test the welded specimen with the seam centered and loaded in the agreed direction.
- Record peak force, elongation, and failure mode.
- Report whether failure occurred in the base fabric, at the weld edge, or through the weld.
- Set acceptance limits from the bag load requirement and validated production data.
A seam that looks strong but consistently tears the adjacent fabric at low load is not automatically acceptable. The entire bag design, handle geometry, and load path must be evaluated.
Use the Defect Pattern to Correct the Right Variable
| Observed defect | Likely direction | First checks |
|---|---|---|
| Peeling or incomplete bond | Low delivered energy or poor contact | Layer count, pressure, speed, alignment, worn anvil |
| Holes or a cut seam | Excess energy or concentrated pressure | Amplitude, speed, sharp tooling, web tension |
| Intermittent weak sections | Runout, tension variation, contamination | Bearings, web guiding, roll quality, tooling cleanliness |
| Strong cold start, weak hot run | Thermal or acoustic drift | Cooling, duty cycle, stack tuning, generator alarms |
Change one controlled factor at a time after the likely mechanism is identified. This keeps troubleshooting evidence useful and prevents operators from masking mechanical faults with excessive energy.
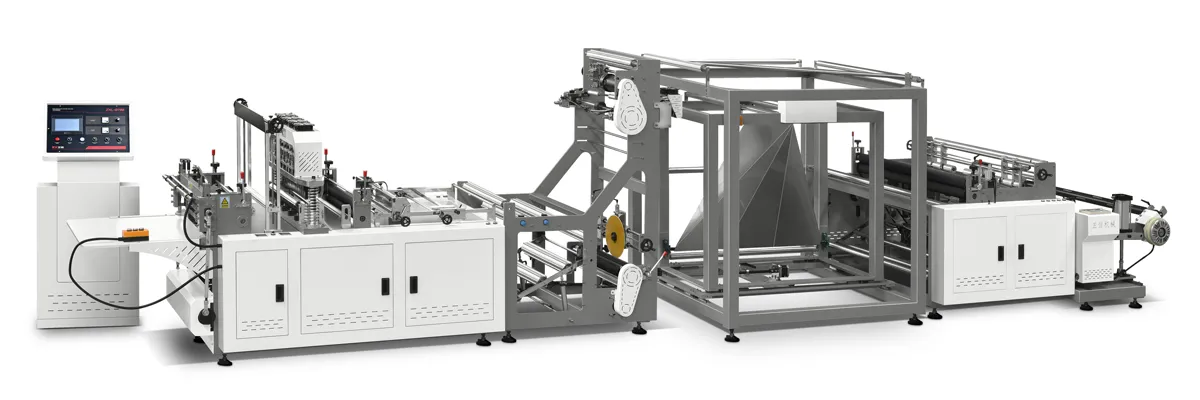
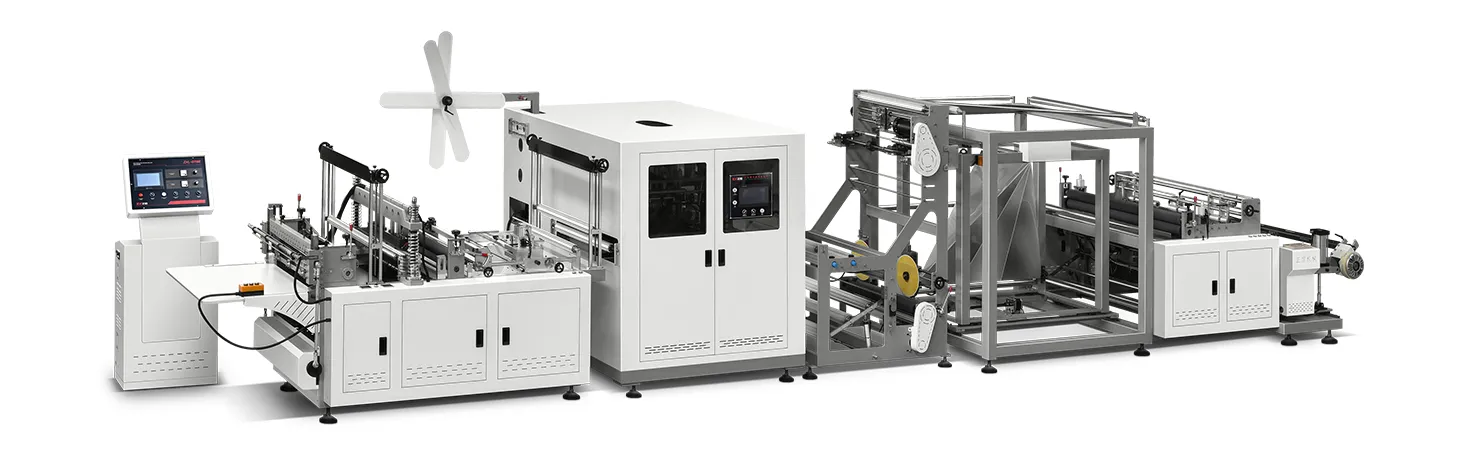
Send Zhengxin your fabric specification, bag drawing, seam location, target speed, and load requirement. Our engineering team can configure a Customizable ultrasonic solution and document the OEM or ODM validation plan before your production line is released.
 Español
  English
  العربية
  Русский
  O‘zbekcha
  Қазақ тілі
  Português (AO90)
  Tiếng Việt
  (فارسی (افغانستان
  Kiswahili
  አማርኛ
አማርኛ  தமிழ்
தமிழ்  Bahasa Indonesia
  اردو
اردو  हिन्दी
  বাংলা
বাংলা